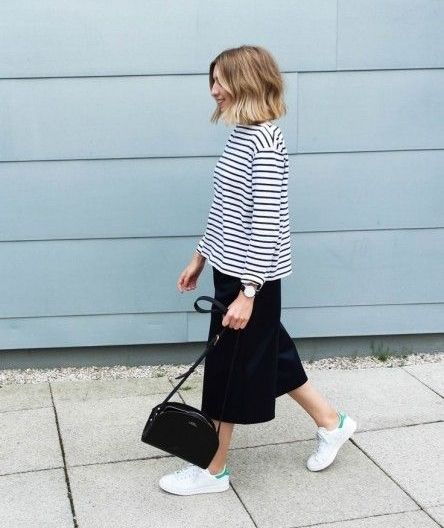
Since the fashionable press hailed white as the fresh alternative to black, the rise in sales of the covetable white trainer soared. Most of our clients have at least one pair of white sneakers in their wardrobe, be it Saint Laurent, Stan Smith or Gucci.
Personal experience proves this style is going to get dirty no matter how careful you are (especially if you have kids or dogs). But before you head to buy a new pair, let us show you what we can do that might save you time and money…all while doing your bit for the planet too.
Using a combination of cleaning and colour restoration, we have come up with a formula to keep your sneakers at the top of their game for longer. This case study shows a two-part restoration for what many would consider an ‘end of the line’ pair of white Adidas Stan Smith sneakers.
“I was walking around the whole city and was so hopeless about having to clean them again that I was planning on buying a new pair. It didn’t help that I tried to repaint them with a spray at home that made them super shiny and attracted so much dirt. I went to The Restory as an alternative and got them specially cleaned and re-coloured – I’m so happy with the results!” Sarah SW1
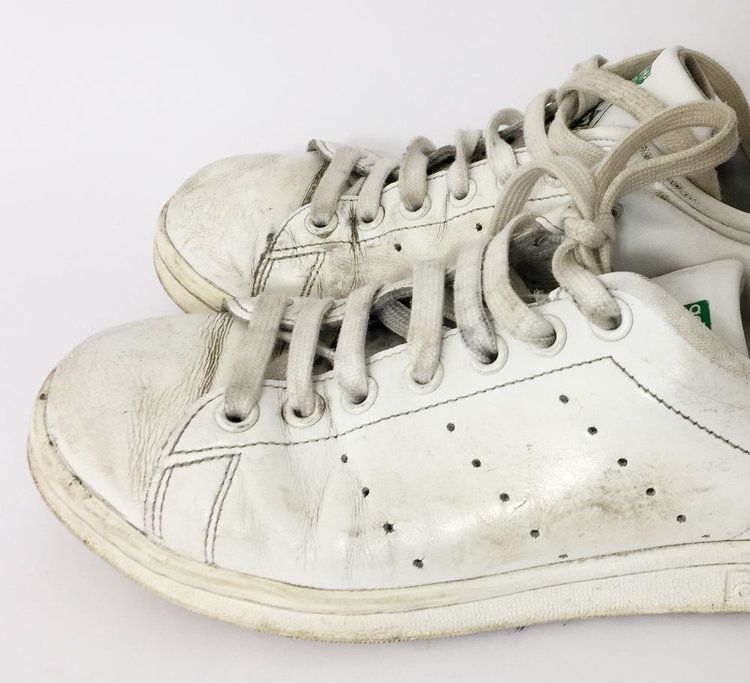
Before
After
STEP 1: CLEAN
We start the process, by getting the shoes cleaned so that we can see the real damage on the leather. Sometimes we think they need re-colouring but surprisingly just cleaning can do wonders to it. The strength of the cleaning products vary depending on the difficulty to remove the dirt and stains, starting from mild to stronger cleaners and on to more chemical products.
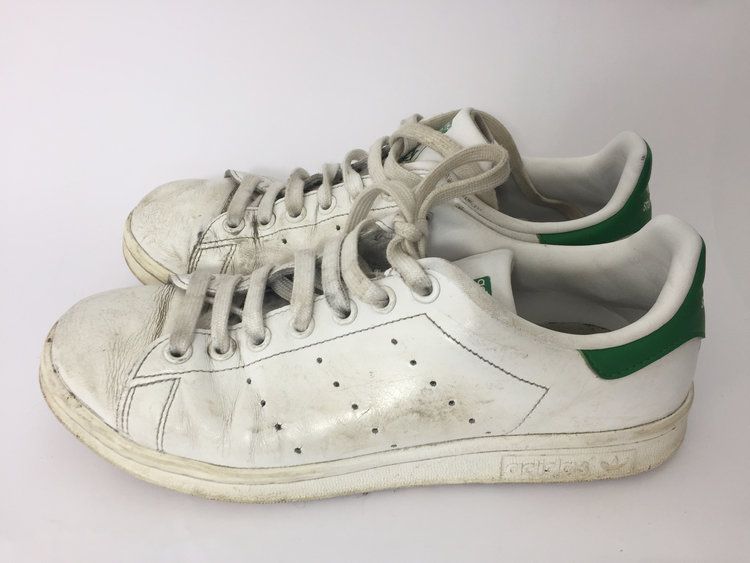
Laces are washed and ironed separately but also are often simply replaced.
One very common problem with sneakers is that the rubber soles are very hard to clean and start oxidizing after a while becoming yellow. We combined some techniques to remove as much dirt and oxidation as possible from them.
If the cleaning proves enough, at this point we would apply a protection cream to finish the process.
Before
After
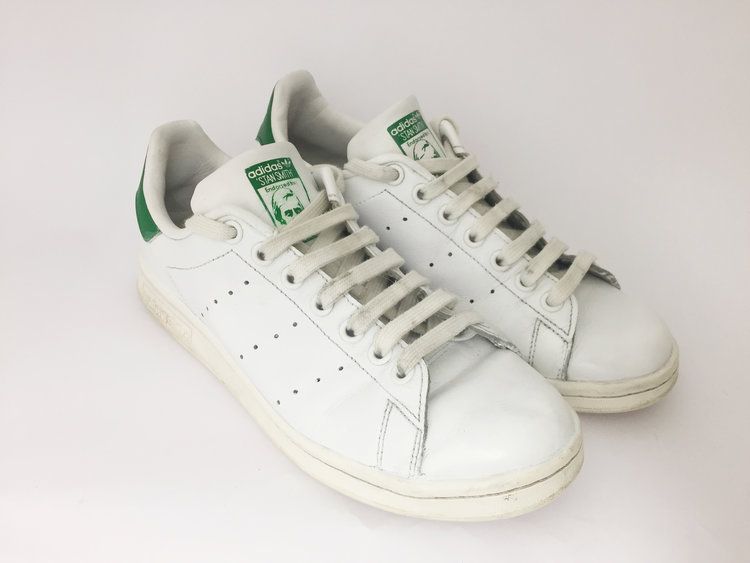
STEP 2: COLOUR RESTORE
After the clean, we prepare the shoes and remove the original finish in order to adhere the colour better. We take a less is more approach and use as little colour as possible to make the sneaker look fresh and avoid a heavy coating.
Before
After
THE FINAL TOUCH
By applying a sealant that will preserve the colour and restore the original finish.
So while tempting to simply replace the, relatively speaking, less expensive trainer, know there are options to bringing back the bright and perhaps making your next sneaker purchase a bit more strategic rather than emotional.
Launching as Official Aftercare Provider for Manolo Blahnik
From reheels and toe pieces to dyeing and restoration, return your well-loved Manolos to their best and make sure they stay in your wardrobe for longer.
You can book your collection directly on ManoloBlahnik.com or drop your Manolos in all three UK boutiques